Patterns: J.P. Ryan "18th Century Frockcoat"
Fabrics: 100% cotton velvet, black, medium weight. 100% silk, black, plain weave. 100% linen, plaid of green and beige. 100% cotton twill, black, for lining facings.
Measurements: *made the pattern size 48" and came out true to size. Measurements taken on the form.
Chest: 48"
Waist: N/A (open coat)
Sleeve, outsize curve: 26"
Sleeve, inside curve: 19.5"
Bicep: 17" max
Shoulders: 22" across back of neck.
 |
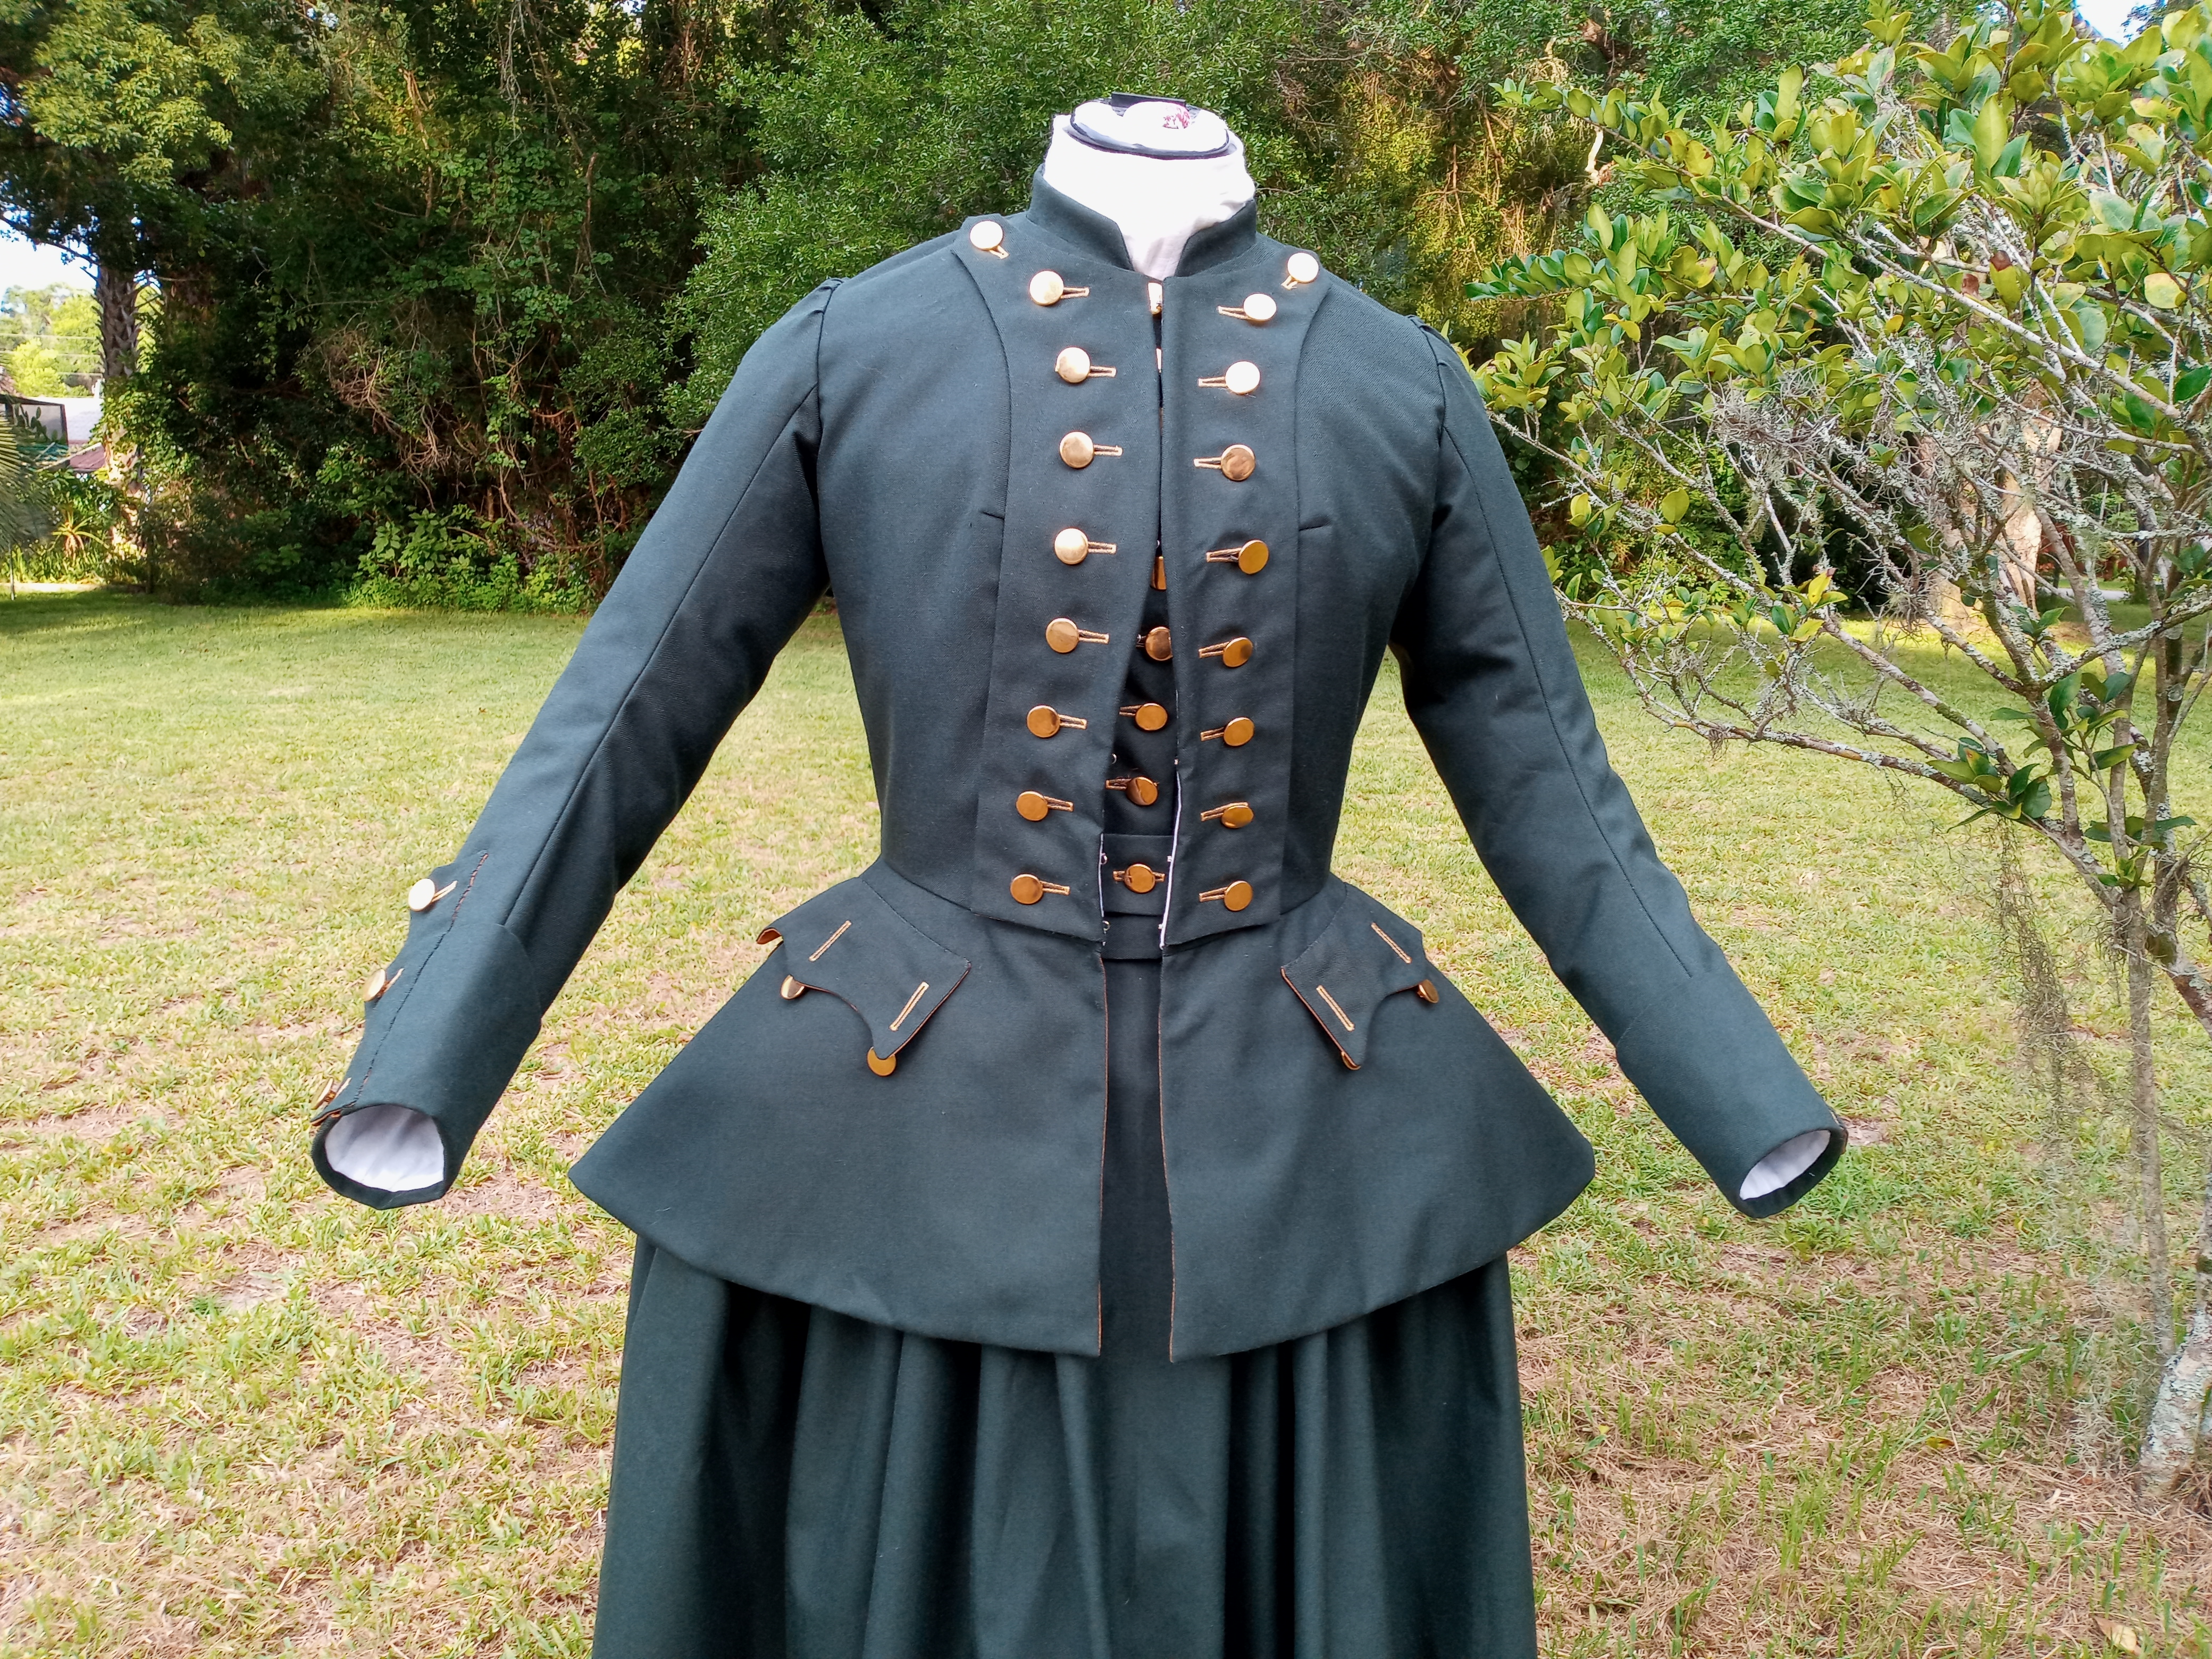
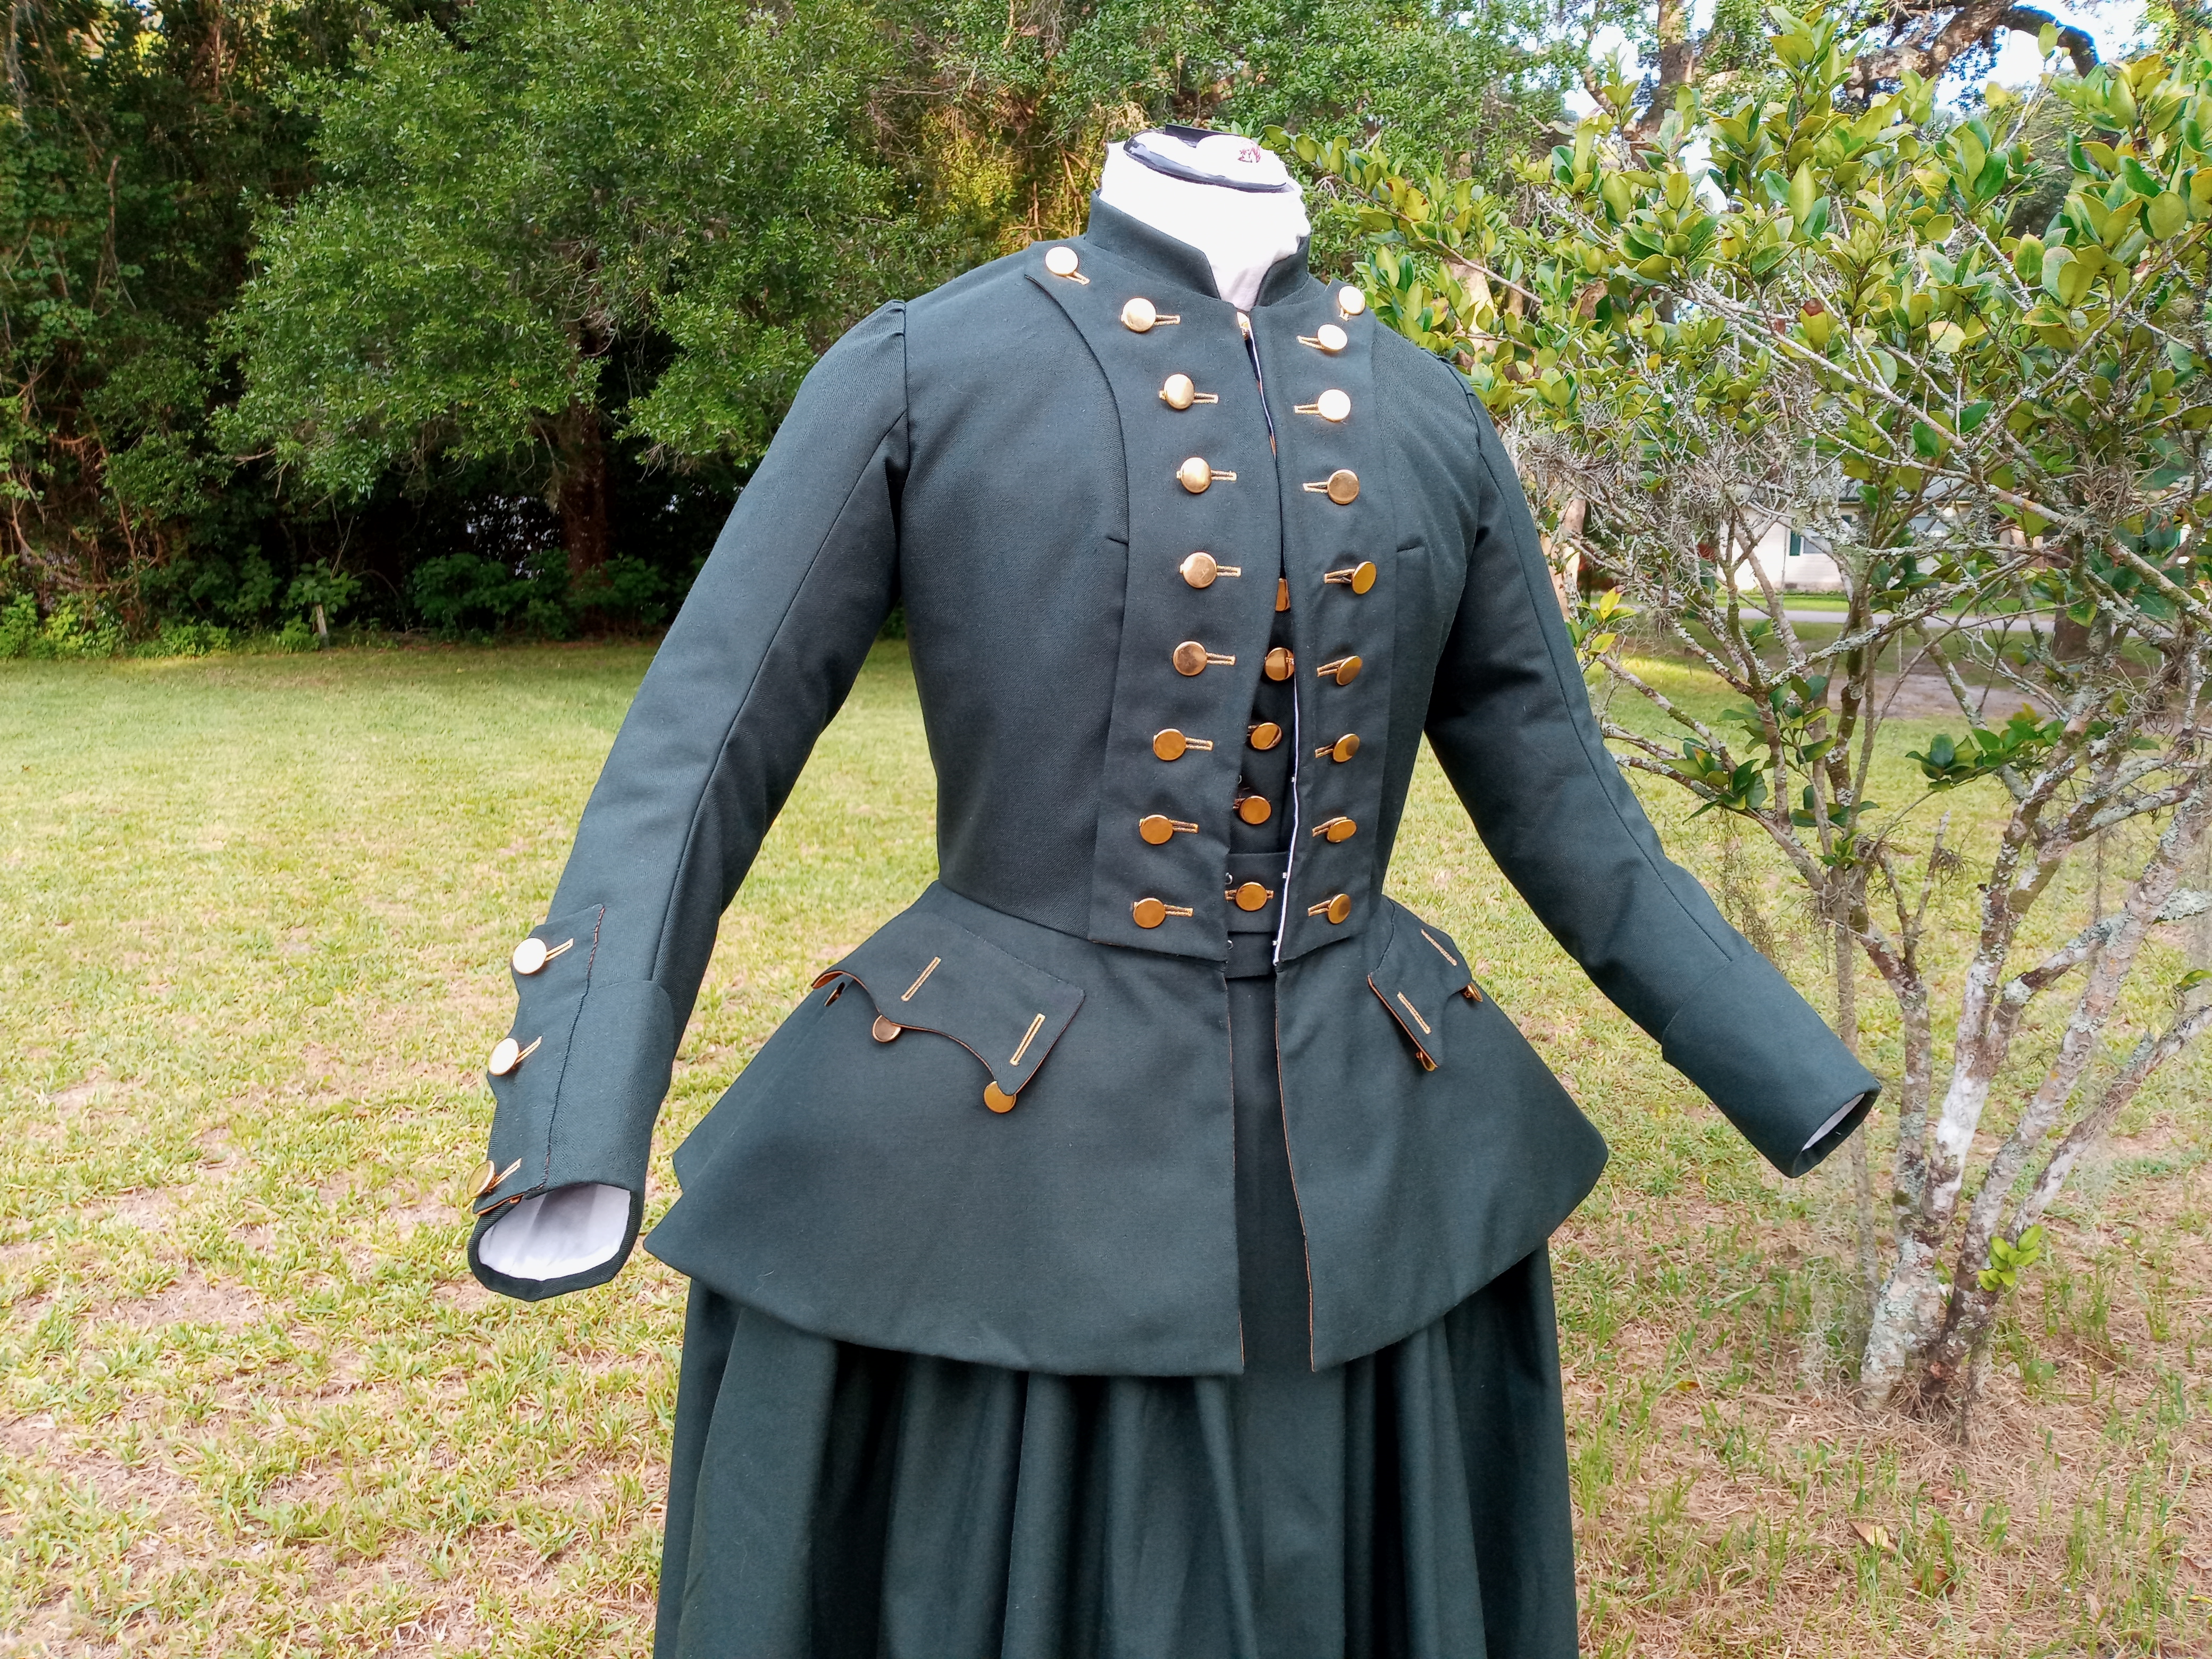
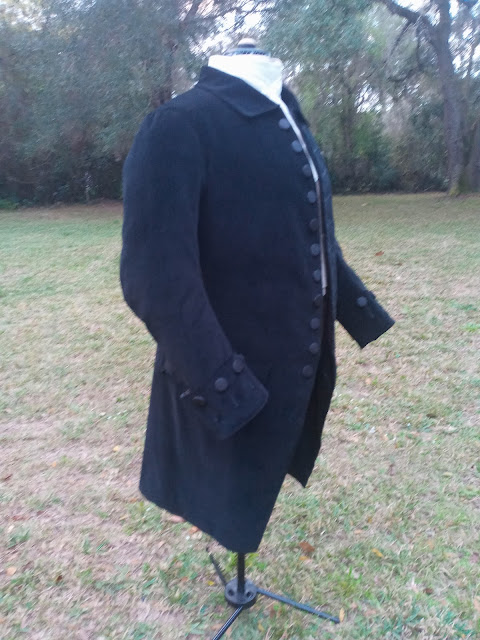
18th century Black Velvet Frockcoat.
For full photo album, scroll down to the bottom of the post. |
I made no changes to the pattern, except in construction methods. The J.P. Ryan pattern instructions call for more simplistic and modern construction methods, so if you already know period accurate construction methods you can just disregard the pattern instructions.
Frockcoat Features
- Silk covered buttons (hand wrapped, in period method). 32 total (10 down front, 8 on cuffs, 6 under pocket flaps, 6 on skirt vents, 2 over skirt pleats.)
- Handmade faux buttonholes, 24 total.
- Full edge stitching, done by hand, with the "wrap over" method on the lining (Fancy French term: Point a rabattre sous la main)
- Linen interlining on the body fronts and pocket area, for strength and stability.
- Faced lining, black cotton twill on skirts and down fronts.
- Linen lining on sleeves and upper body.
- Cuffs and pocket flaps lined in charcoal gray silk taffeta.
- Two functional pockets, 7" deep.
Construction Details (interlining)
When it comes to men's coats, and especially these curved-front cutaway style coats, interlining really is key. Maintaining the crisp shape of that front curve is not easy. The fabric there wants to stretch, and you an end up with that ugly squiggle wave features down the front. But not if you secure things properly =)

(above) For this image I used some red twill to better highlight the shape of the larger interlining piece. It is shaped on the lower edge to cover the area where the pocket will be applied later. Another layer of interlining, this time stiffer lining, goes along the front and a few inches past where the buttons will end.
As you can see, both layers of interlining have been cut away along the front edge and neck edge to the seam allowance. This is to keep the interlining layers out of the front edge seam. Folding over the velvet, plus two layers of interlining, would create a front edge too thick and clunky to create the tailored effect we want at the end.
The pins hold the interlining in place temporarily so you can hand tacked it in place (see below). This is done with very wide stitches, and it's best to do so in a contrasting thread color so you don't miss removing the stitches later (these stitching will stay in during the whole construction process).
(above) showing the pocket already inserted, with tack stitching around, securing the interlinings.
Now, the second part of securing the shape of the front edge is one that is often omitted in reproductions, but I swear by it! This is called droit-fil, which is a fancy French way of describing a piece of cotton or linen tape. It needs to be something sturdy that has no stretch at all, 1/2" is best.
You first fold over the seam allowance on the front edge of the coat, pressing it nice and flat if you're fabric will take an iron. The droi-fil is placed over the folded front edge as shown.
(above) showing the back side of the coat front, with false buttonholes already done (you can see the stitching coming through), and droit-fil pinned in place for stitching. You then hand whip-stitch the droit-fil to the coat along both edge, making sure the stitches do not go through the front side.
Note! Be sure to position the droit-fil far enough away front the front edge so that your lining will cover it up later. I recommend 3/8" back.
Construction Details (Buttonholes)
Since the buttonholes are this coat and non-fuctional, they will not be opened and don't need to go through the lining. So it's best to do them on the front piece alone, though just the outer fabric and interlinings, before any other construction.
(above) showing the left front section of the coat, with pocket flap and buttons already applied. You can also see the additional tac-stitching that has been applied between the buttonholes marks. This holds all the layers of fabric nicely in place while you do your buttonholes.
[All this tac-stitching may seem like an extra unnecessary burden, but you will be flipping and flopping this huge piece of fabric all over the place while you put in pockets and do buttonholes, etc. So if you rely on just leaving pins in place to hold everything, they will be falling out and poking you and you'll just regret it. Trust me lol]
Construction Details (Lining)
The lining is in sections, with a plaid medium weight lining on the upper portion of the torso and sleeves, and a black cotton twill along the fronts and on the coat skirts. I'm sure you've noticed the same linen as I did for parts of the interlining. Linen is linen.
(above) showing the front lining, and a good examples of the overlapping edge stitch method.
(below) Showing how the sleeve lining is attached. After the sleeves are set in with just the outer fabric, the seam allowance of the armhole is clipped it, so it can be folded, and then the sleeve seam allowance is folded under and pined over the edges. Slip stitched in place.