
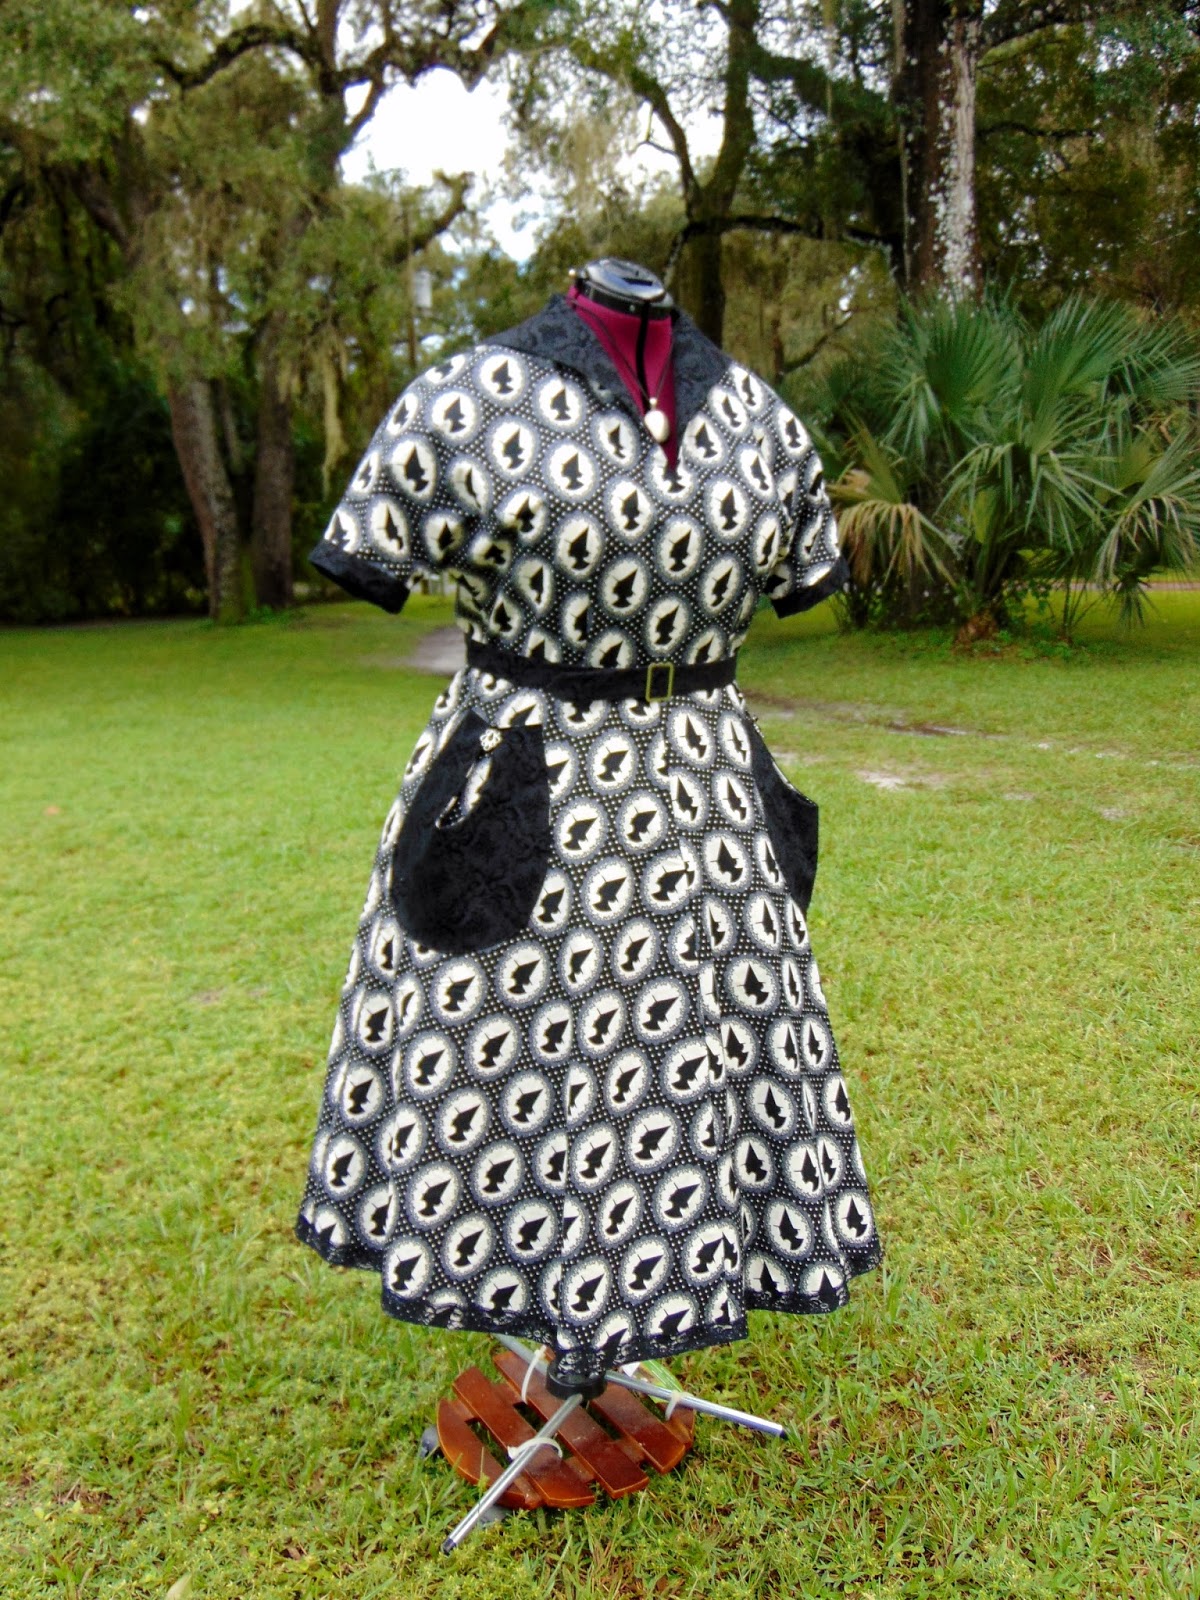
Fabrics: Novelty Halloween cotton print (witch cameos*). Black cotton twill with velvet flocked pattern.
Pattern Size Cut: 22
Available on Etsy HERE
Alterations?: Yes. I added cuffs to the sleeves and black lace binding to the hem. I also used faux jewel accents above the pockets instead of ties. No alterations to fit. Dress is cut from the pattern "as is."Final Measurments (as shown on dress form):
Chest: 45" (large cup)
Waist: 38"
Hip: 46"
Hem: 30" from waist seam
Cuff circumference: 14"
Standard US Dress Size: 16/18

~General Overview~

Things to Note:
- The bodice and skirt have center front seams. The bodice center front is straight-of-grain below the collar opening, so matching patterns shouldn't be that difficult.
- The center front seam of the skirt is not straight-of-grain, so matching pattern there will be nearly impossible. If you are using stripes or plaids, however, you could get a very pleasing 'V' effect there.
- The left side zipper location is marked rather high in my opinion, almost right in the armpit. I lowered it by about 1.5" inches.
- Closure is on the left side with a 12" invisible zipper.
~Collar~
The facing fabric I used for the collar, which was the same for the pockets, belt, etc., is a bottom weight twill, so I was able to forgo the steps for interfacing. The instructions for facing the collar and back neckline are well written, so I don't think I will have much to add above what Butterick provides. But here is a run down anyway.

(above) The fronts, with darts already sewn and center front sewn up to where marked.
(below) The collars have a small dart that serves two purposes. It eliminates the pucker that would otherwise form once you bring the side edge of the collar around to the back neck, and it also gives lift and keeps the collar from later just resting flat and boring (if it did, it would be wide and look like 1970s collars, lol).

(below) Facing has been stitched to the fronts. The pins shown are just keeping the layers together while I move them around.

(below) This step confused me a bit because I wasn't sure what they wanted. They want you to bring the the tiny bit of facing outside of the inward snip and attach it to just the seam backside seam allowance on the shoulder. I hand tacked it in place where the pin it because it was too much fuss to get it into the machine for just a few stitches. The back neck facing will eventually cover this.

(below) And here we see the back neck facing attached over the collar facing. The folded bit at the shoulder seam is then whip stitched down by hand to the collar facing.
Everything looks bulky at this stage, but edge stitching really helps later for that. The pattern does not call for any edge stitching, but I am a big fan of it.

~Pockets~
These pockets are adorable, surprisingly functional, and their placement more to the front rather than on the sides avoids that dreaded "big hip pocket bulge" that can happen. With a busy print like this, I decided contrasting pockets were the way to go. Otherwise, matching pockets would have disappeared into the print while also giving a kind of "distorted" look for breaking up the pattern.

(above & below) After sack lining the pocket and ironing, they are simply top stitched into place according to the pattern markings. You create the lovely jutting opening by bringing the top edges together.
NOTE: The pockets overlaps the skirt seam slightly, so you must have your seams always sewn and pressed before applying the pockets. It's all in the instructions, though =)

(below) The pattern calls from self made ties at the top of the pockets, but I didn't like them much. Instead, I took some clearance table costume jewelry earrings and broke them apart, then stitched the pieces above each pocket. You could put almost anything there; buttons, rosettes, bows...


~Finished~


(below) side zipper sewn in by hand. I have never liked machine zipper feet.

B6055, Butterick, Retro, 1950s, Rockabilly, Halloween,
Witch, Cameos, Handmade, sewing, custom, review, tutorial, guide,
Very useful! I just bought the pattern, so your post should help me navigate the instructions. Thanks for posting.
ReplyDeleteGlad to be of help =)
DeleteThis blog is over 3 years old and still more helpful to me than the instructions! Haha if you're still around, I thank you!
ReplyDeleteThanks! Yeah I'm still around, though I'm terrible about posting everything I make and keeping up lol.
Delete