
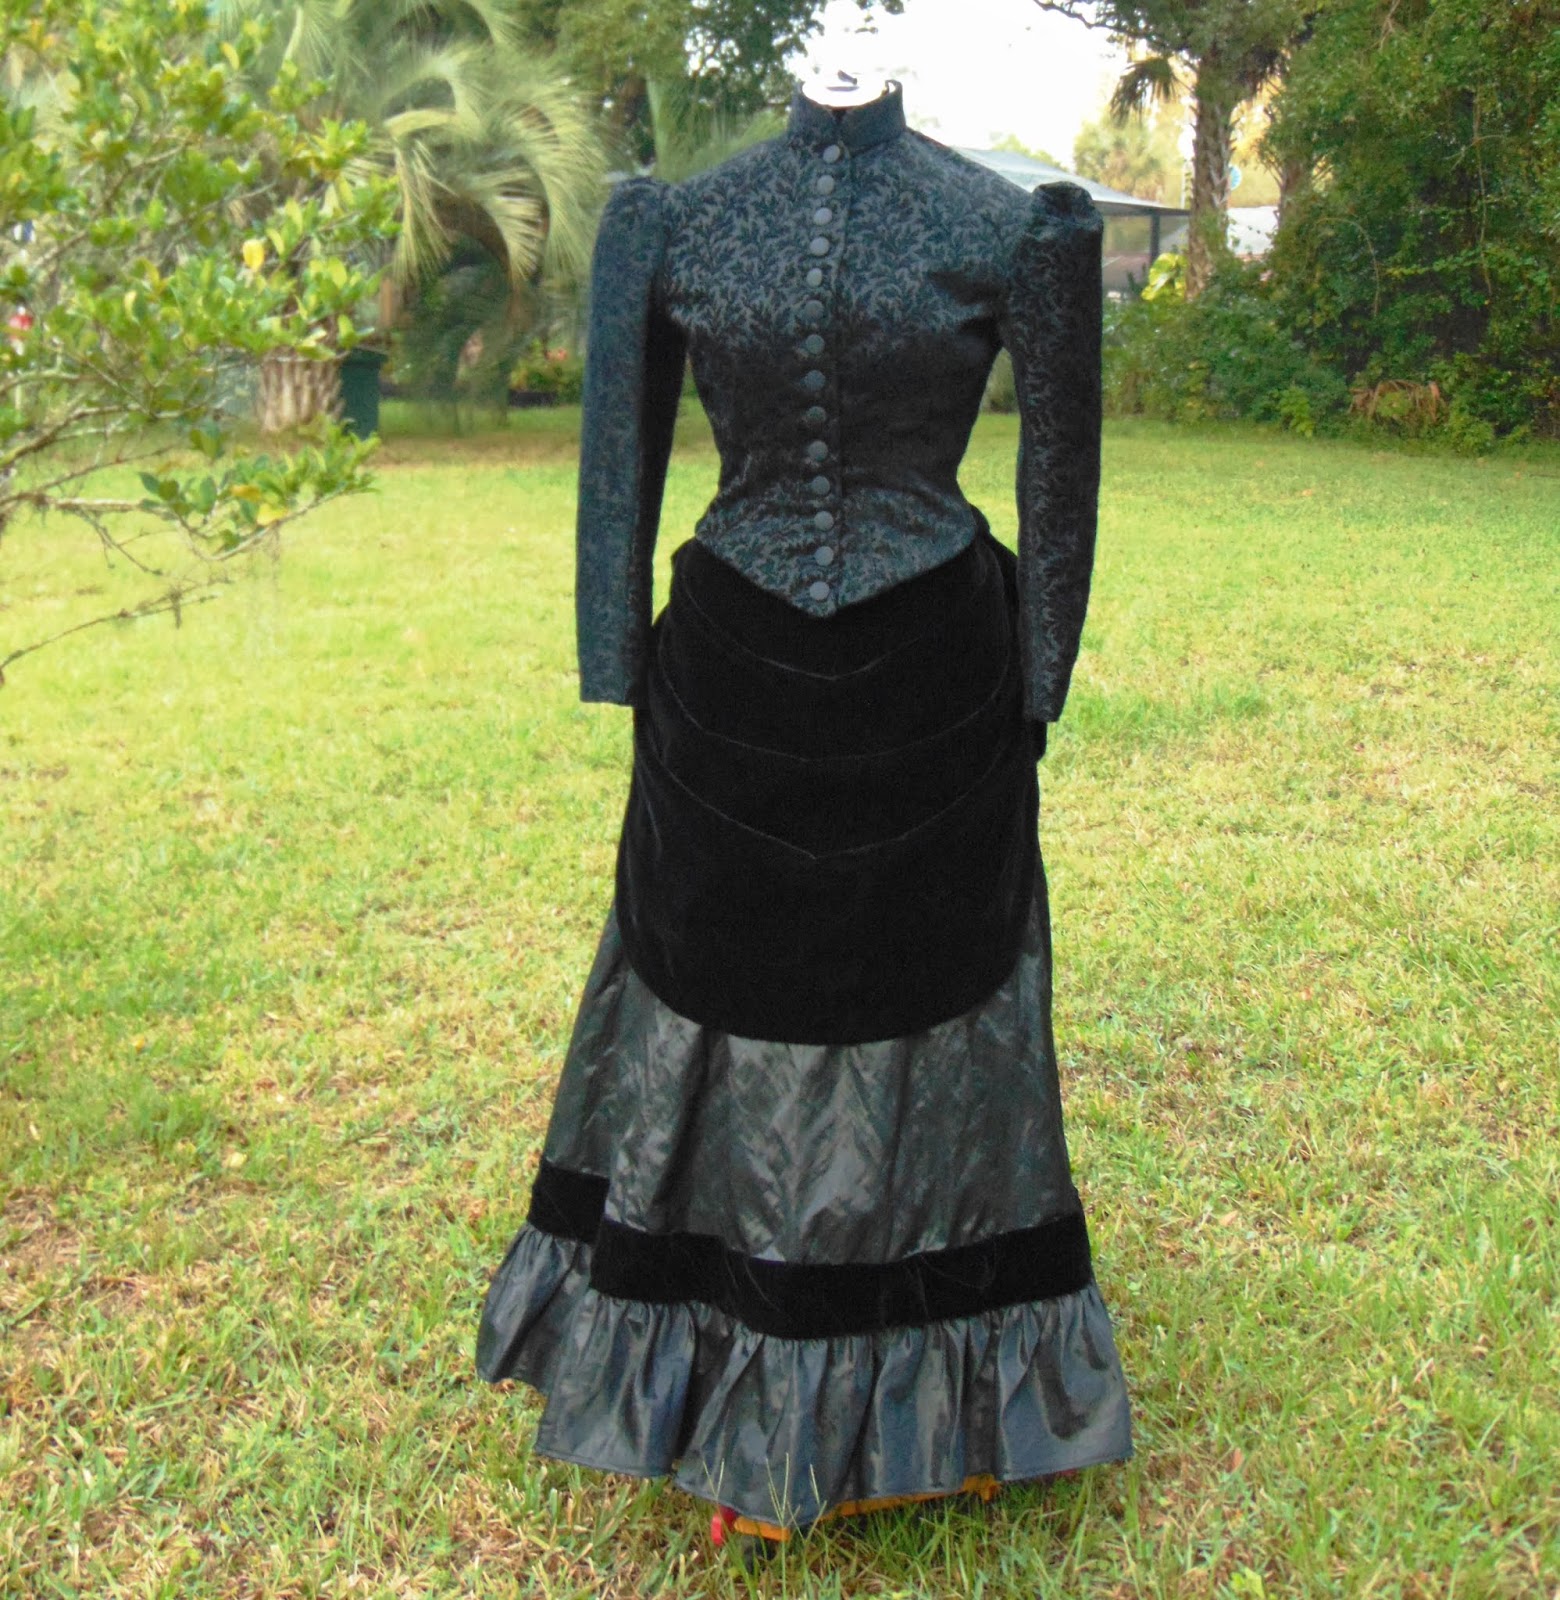
Fabrics: A mix of black satin, velvet, and jacquard velvet in a leaf print.
Measurements:
Chest: 38"
Waist: 27.5
Hip: <41"
Hem: 40" at front.
Back Width: 14.5"

I've always been a fan of black-on-black. As long as you vary the textures, it almost works, especially with black velvet or velveteen. Here I did combination of black velvet, black satin, and a black velvet print woven on a shantung type base (jacquard).
All three pieces use different fabric. Oddly enough, we don't see separates represented often in historical reproductions and reenactor wear, mostly because we tend to take our cues from period fashion plates and photographs. Fashion plates were idealized, and photographs typically saw people wearing their "Sunday best." Not the best presentations of what people wore day to day. Separates, mixing and matching, were very common for regular people who couldn't afford the kind of expansive wardrobe that allowed for dedicated "outfits."
(I mean, imagine today if all your clothes were matching top and bottom "sets". What a pain in the butt come laundry day...)
(I mean, imagine today if all your clothes were matching top and bottom "sets". What a pain in the butt come laundry day...)
Working With Velvet
If you've sewn with velvet before, you already know what an absolute pain it is. You can't iron it, which means turning hems and lining requires special treatment you don't have to do with other fabrics. For the over skirt, I had to flat-line the front apron section in organza and turn the front hem under. I then slip-stitched the hem in place to just the organza backing (so no stitching showed through on the outside). Top stitching looks terrible on velvet. Avoid whenever possible.

As for my alterations to the apron over-skirt, I added a center back seam so that I could create the split-tail effect and have my closure at the center-back (I love Truly Victorian patterns, but I'm not a fan of the side-back closure that is on most of them.) I then pleated up a portion of the center-back so two section of "swags" were created. It's remarkably easy to do, the only change I had to make the shape of the back section was to cut the bottoms to points. The rest is just pleating. The satin bow is removable. The center back ribbon gives the effects of the pleats being looped up, thought they are stitched in place behind the ribbon.

For this apron over-skirt, I also recommend cutting the front apron section a size larger than your measurements call for. This will put the pleated side seams a little further back, which I think looks better.

The Under-Skirt
Black satin with a bias-cut flounce on the hem, topped with a 3" band of black velvet. The waistband is done with a petersham ribbon backing, stitched in by hand. The over-skirt waistband was done in the same way. The skirt is a bit wrinkled in the pictures, as my iron chose yesterday to die on me.

The Bodice is really the best part of this outfit, in my opinion. I decided to go accurate with the finished, mostly because the jacquard fabric is already a bit thick and I didn't want to add another layer for sack-lining. So, I used black cotton as my interlining and lining combined, and then finished all the seams inside with narrow binding.

I then made facing pieces of the same black satin used on the skirt. The sleeves are lined in black cotton as well, slip-stitched to the armhole seam allowance by hand. The buttons are black silk taffeta over wooden rounds.
I used to use standard metal covering-buttons, but their quality has gone drastically down in the last few years. The shanks that come on the standard Dritz covering buttons are just too weak to hold up to the strain of tight Victorian wear; the backs keep popping off. So, I've starting making my own in the style that was mostly common in the 18th century (and was still being used at home in the 19th century). They don't have metal shanks, but are instead stitched right through the bunched up fabric at the back of the button.
FINISHED


No comments:
Post a Comment