
Fabrics: 100% Silk, Dupioni, in antique gold color. **Dupioni weave silk did not exist in the 18th century, but I was in love with the color so I don't really care** ;) lol
Available on Etsy HERE
Available on Ebay HERE
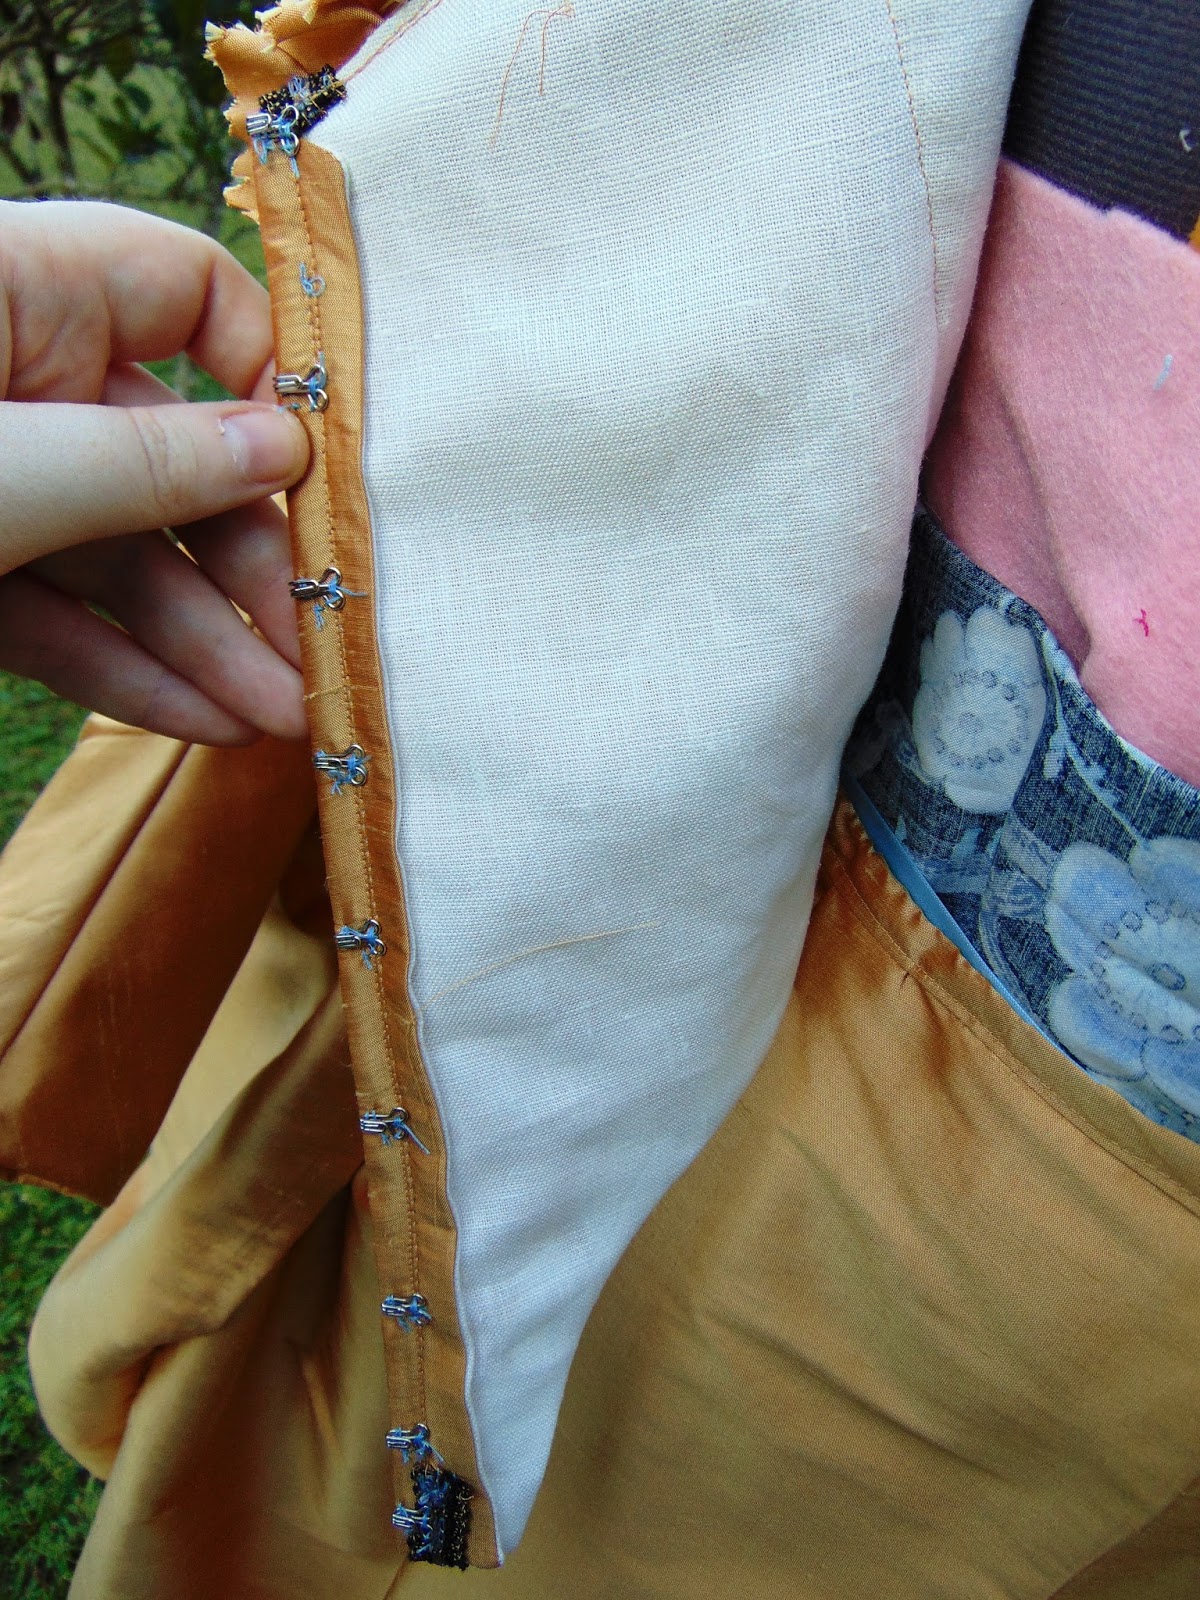
Alterations: MASSIVE. This pattern in original form is very oddly shaped, especially for modern figures. The original waist/chest difference was almost 14 inches, and the torso is quite long. My alterations for size required me to make alterations to how the pleating on the torso sides was to lay (more on that later).
~The Pattern~
I thought I had a lot of problems with the polonaise I made several weeks ago, but this pattern made that one feel like a breeze. Put simply, this pattern has a tiny waist, a huge chest, an incredibly low neckline, and an torso so long that I can only imagine the original wearer was 6' tall. It's a sizing nightmare. My alterations to the bodice were so drastic, that I can barely claim that I even made the original pattern. =(
The Pleating
~The most notable thing about this pattern is, of course, the pleating on the bodice that ends and creates a kind of peplum at the waist level. Firstly, this pleating is NOT build into the bodice. It is a separate panel that is pleated and then laid over the bodice (see pattern below).
The way the pattern shows the pleating being laid onto the bodice proved to be almost impossible for me to pull off. I don't know if the pleat guides were marked incorrectly or what, but the final piece after pleating simply doesn't fit what is shown. For one, the back of the pleating is shown to reach all the way to the center back point of the bodice, but if you do this the top of the pleating then does not meet the front neckline, and so on. I eventually laid the pleating on in my own manner, creating a different look from that on the pattern.

The Process
~~Before the pleating panel is laid on to the bodice, you essentially have just a typical robe a l'Anglaise with a round-gown back. Below you can see the dress before the pleating and sleeves. Also, these photos show the front AFTER I have already made my massive sizing alterations.


In making the pleating, I had to finish the edges first with their trims, then begin the pleating. I chose to blind the stitch the pleats from the back side rather than try top stitching them all down.


A view from the back of the pleating, showing the machine stitching.

To give you an idea of how long the torso of the original pattern is, look at this below. WTH, right? the pleating is far too long, and yet not nearly wide enough to cover as much of the bodice side as the pattern illustration shows. As I stated earlier, I ended up cutting the pleating and making up my own look with the same idea.

After my cuts and adjustments.

The Buttons
~I decided to make a separate post on how I made these buttons. See the post HERE
The Petticoat
Not much to tell here. It's your standard 2 panel (58" each) skirt with opening on either side. There are front and back waistband with long ribbons to tie around to the back and front. The center front and back are left flat with the pleating starting toward the hips. The front is 3" shorter than the rest to compensate for the rise of the bum roll/hip pad. I did the hem stitching by hand.
 |
| The pink and blue print fabric you see are just padding I've used to shape our my dress form to an 18th century silhouette. |
~Finished~


No comments:
Post a Comment