
Fabrics: 100% silk, Dupioni with a very low slub and grain. Plaid in shades of black, brown, and gold. Skirt lining is gray broadcloth. The blouse is unlined.
Available on Etsy HERE
Measurements:
Chest: 40" (Padding was typical of this era, to create to pigeon breast effect)
Waist: 30"
Hip: 40"
Hem: 40"
**A long, 1910s style corset is recommended, but not necessary.
Sleeves: Full length, 21" front shoulder point.

~Skirt Construction~
The seams for this skirt are made a bit differently than a typical gored skirt, so if you've never done this lapping style before it might be a bit overwhelming. The instructions are very concise and well written; essentially, you're doing the seams with a very wide allowance (1.25"), pressing them down, then top stitching through all layers .75" away from the first seam. Then, you'll remove the stitching from the first seam you made (which should be done as a basting stitch) and voila! You have a 3/4" lapped seam that travels all the way down into the kick pleats =)
The pattern recommends flat lining and overlocking/zig-zaging all edges. It's more work but I can't recommend it enough. It really effects how the skirt lays and that extra strength on the hem and pleats is a must.

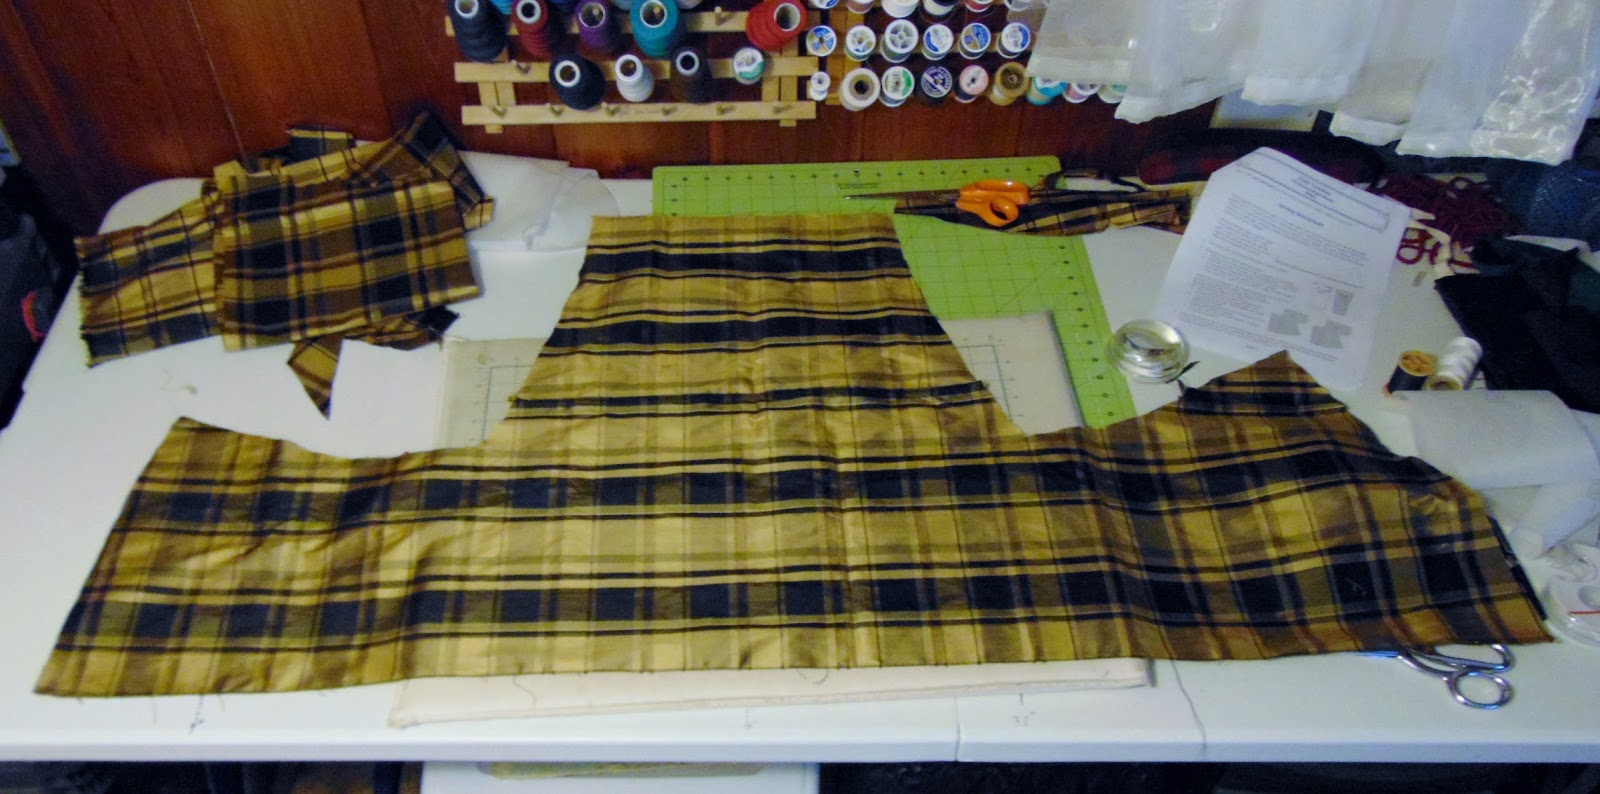
(above) The front and back pieces come as halves, to be cut on the fold, but if I like to cut plaids as a mirror, one piece at a time, to make sure about pattern matching.

(below) Stitching the front to the right side piece. I did this skirt with just one closure placket, on the left front. You can cut it to do two plackets, which I actually recommend instead. This skirt has a narrow hip, so getting it on will be much easier with a two placket opening because it will give you more shimmying room.


The waist of this skirt is done with 2" wide belting inside, which is formed with tiny darts to match the curved shape of the upper waist.


The belting hooks at center front, meeting edge to edge with no overlap, as you see above. The belting it attached to the skirt just as the very top edge. I top stitched through about 1/4" from the top. If you can get 2" belting to matching the color of your skirt, that's the best choice, though the puff of your blouse during wear will likely cover up any contrasting line of color that might show.
~Blouse Construction~
It would be difficult to find a simpler blouse than this one. There is no closure, as it is designed to just pull on over the head. There is no shoulder seam, as the sleeve, front, and back are cut as one large piece. The side seams extend up and under the sleeve, Kimono style. This is, essentially, a kimono blouse with a panel on the front and back.
The pattern comes with cutting lines for short sleeve and 3/4 sleeve. I extended the sleeves to be full length and added my own cuffs.

(above and below) The front panel is not lined or interfaced. This is in keeping with the soft blouse look. The edges are folded in 1" and then top stitched on the other side at 3/4", similar to the way I made the lapped seams/folds of the skirt earlier. Trim up the front however you plan to at this stage. Also, it's recommended that you do mitered corners on this.

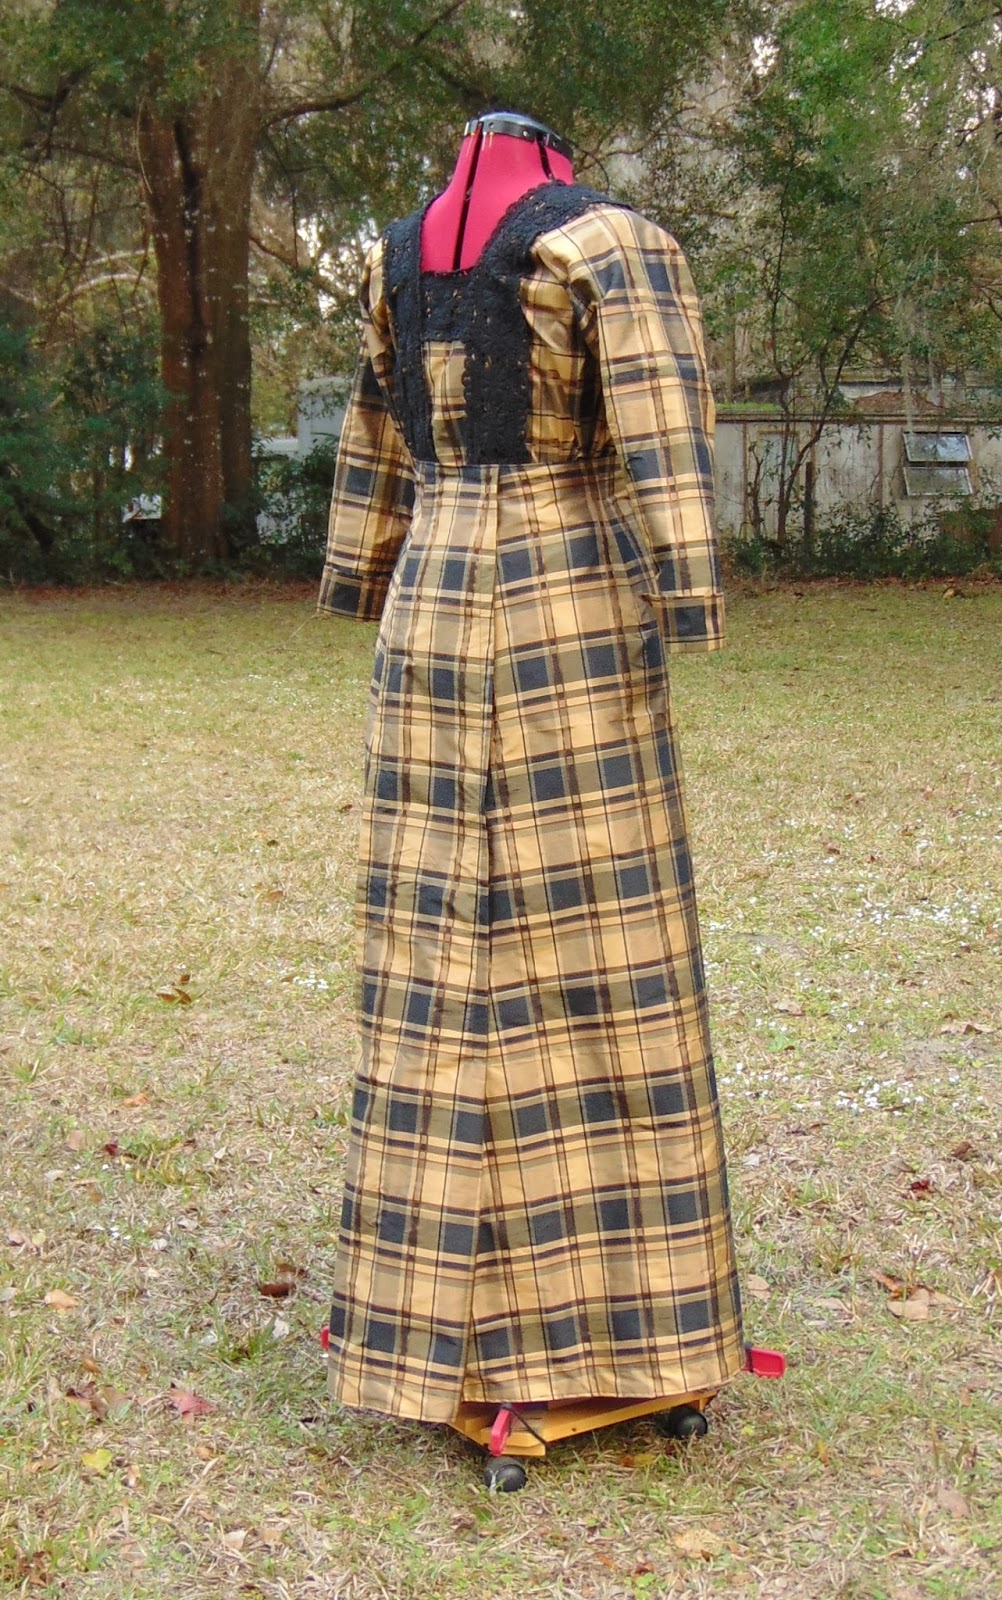
~Finished~


I made this skirt in pure linen, flatlined in cotton, and it's a delight to wear for teaching and social events. it was a pain to make in linen though because the lining and especially the linen needed constant ironing while I made it. Recommend a less cresable fabric.
ReplyDeleteI can imagine! And with linen being such a drapey fabric construction must have been a bear.
Delete