
Pattern: Rocking Horse Farm #152 "Banyan & Cap 18th century" (First time use)
Fabrics: 100% cotton outer fabric, deep red with scrollwork patterns in gold, dark brown. 100% cotton lining, white with block print scroll pattern. Front, cuffs, and collar facing done in silk/rayon blend velvet, emerald green. Cap done in all the same fabrics.
Measurements:
- I made the pattern size Large, marked as a 40-42" (101-107cm) chest. Still quite comfortable up to a 44"(112cm), however.
- The sleeves are overlong, nearly 38"(96cm) from the neck, intended to be rucked up or folded up at the cuffs as I have done. The velvet facing is very deep and the cuffs can be folded up more than twice as deep as shown in the images, if needed.
- The full length at the back, from collar seam to hem, is 59.5" (151cm)
- The cap comes in only one size, and came out to comfortably fit a 22.5"(57.15cm) head, with wiggle room


Pattern Overview
Some flaws in a few places, but overall I really like this pattern. The few missteps are easily bypassed, though.
Rocking Horse Farm #152 seems to be kind of a rare one, if the google search tells anything. Perhaps it had a very short printing? Also, I did find other images of a "banyan" from the same copy, but it had a different collar *shrug*

- The construction directions are very scant. It's just one page with text directions, no guiding images, so the pattern assumes a level of experience already. The one place this might trip up the novice or intermediate sewer is the shawl collar. There is a particular method of doing these, and if you're not familiar with how to work a shawl collar seam, I would recommend getting that info first from another source (a shawl collar is a shawl collar. If you've made them with other patterns, they're mostly the same anywhere)It basically involved stitching the shoulder seams up to a point leaving just the seam allowance out, and then snipping into the seam allowance so you can jut the whole thing to start stitching against around a 90" corner. (above, inside seam, shawl collar)
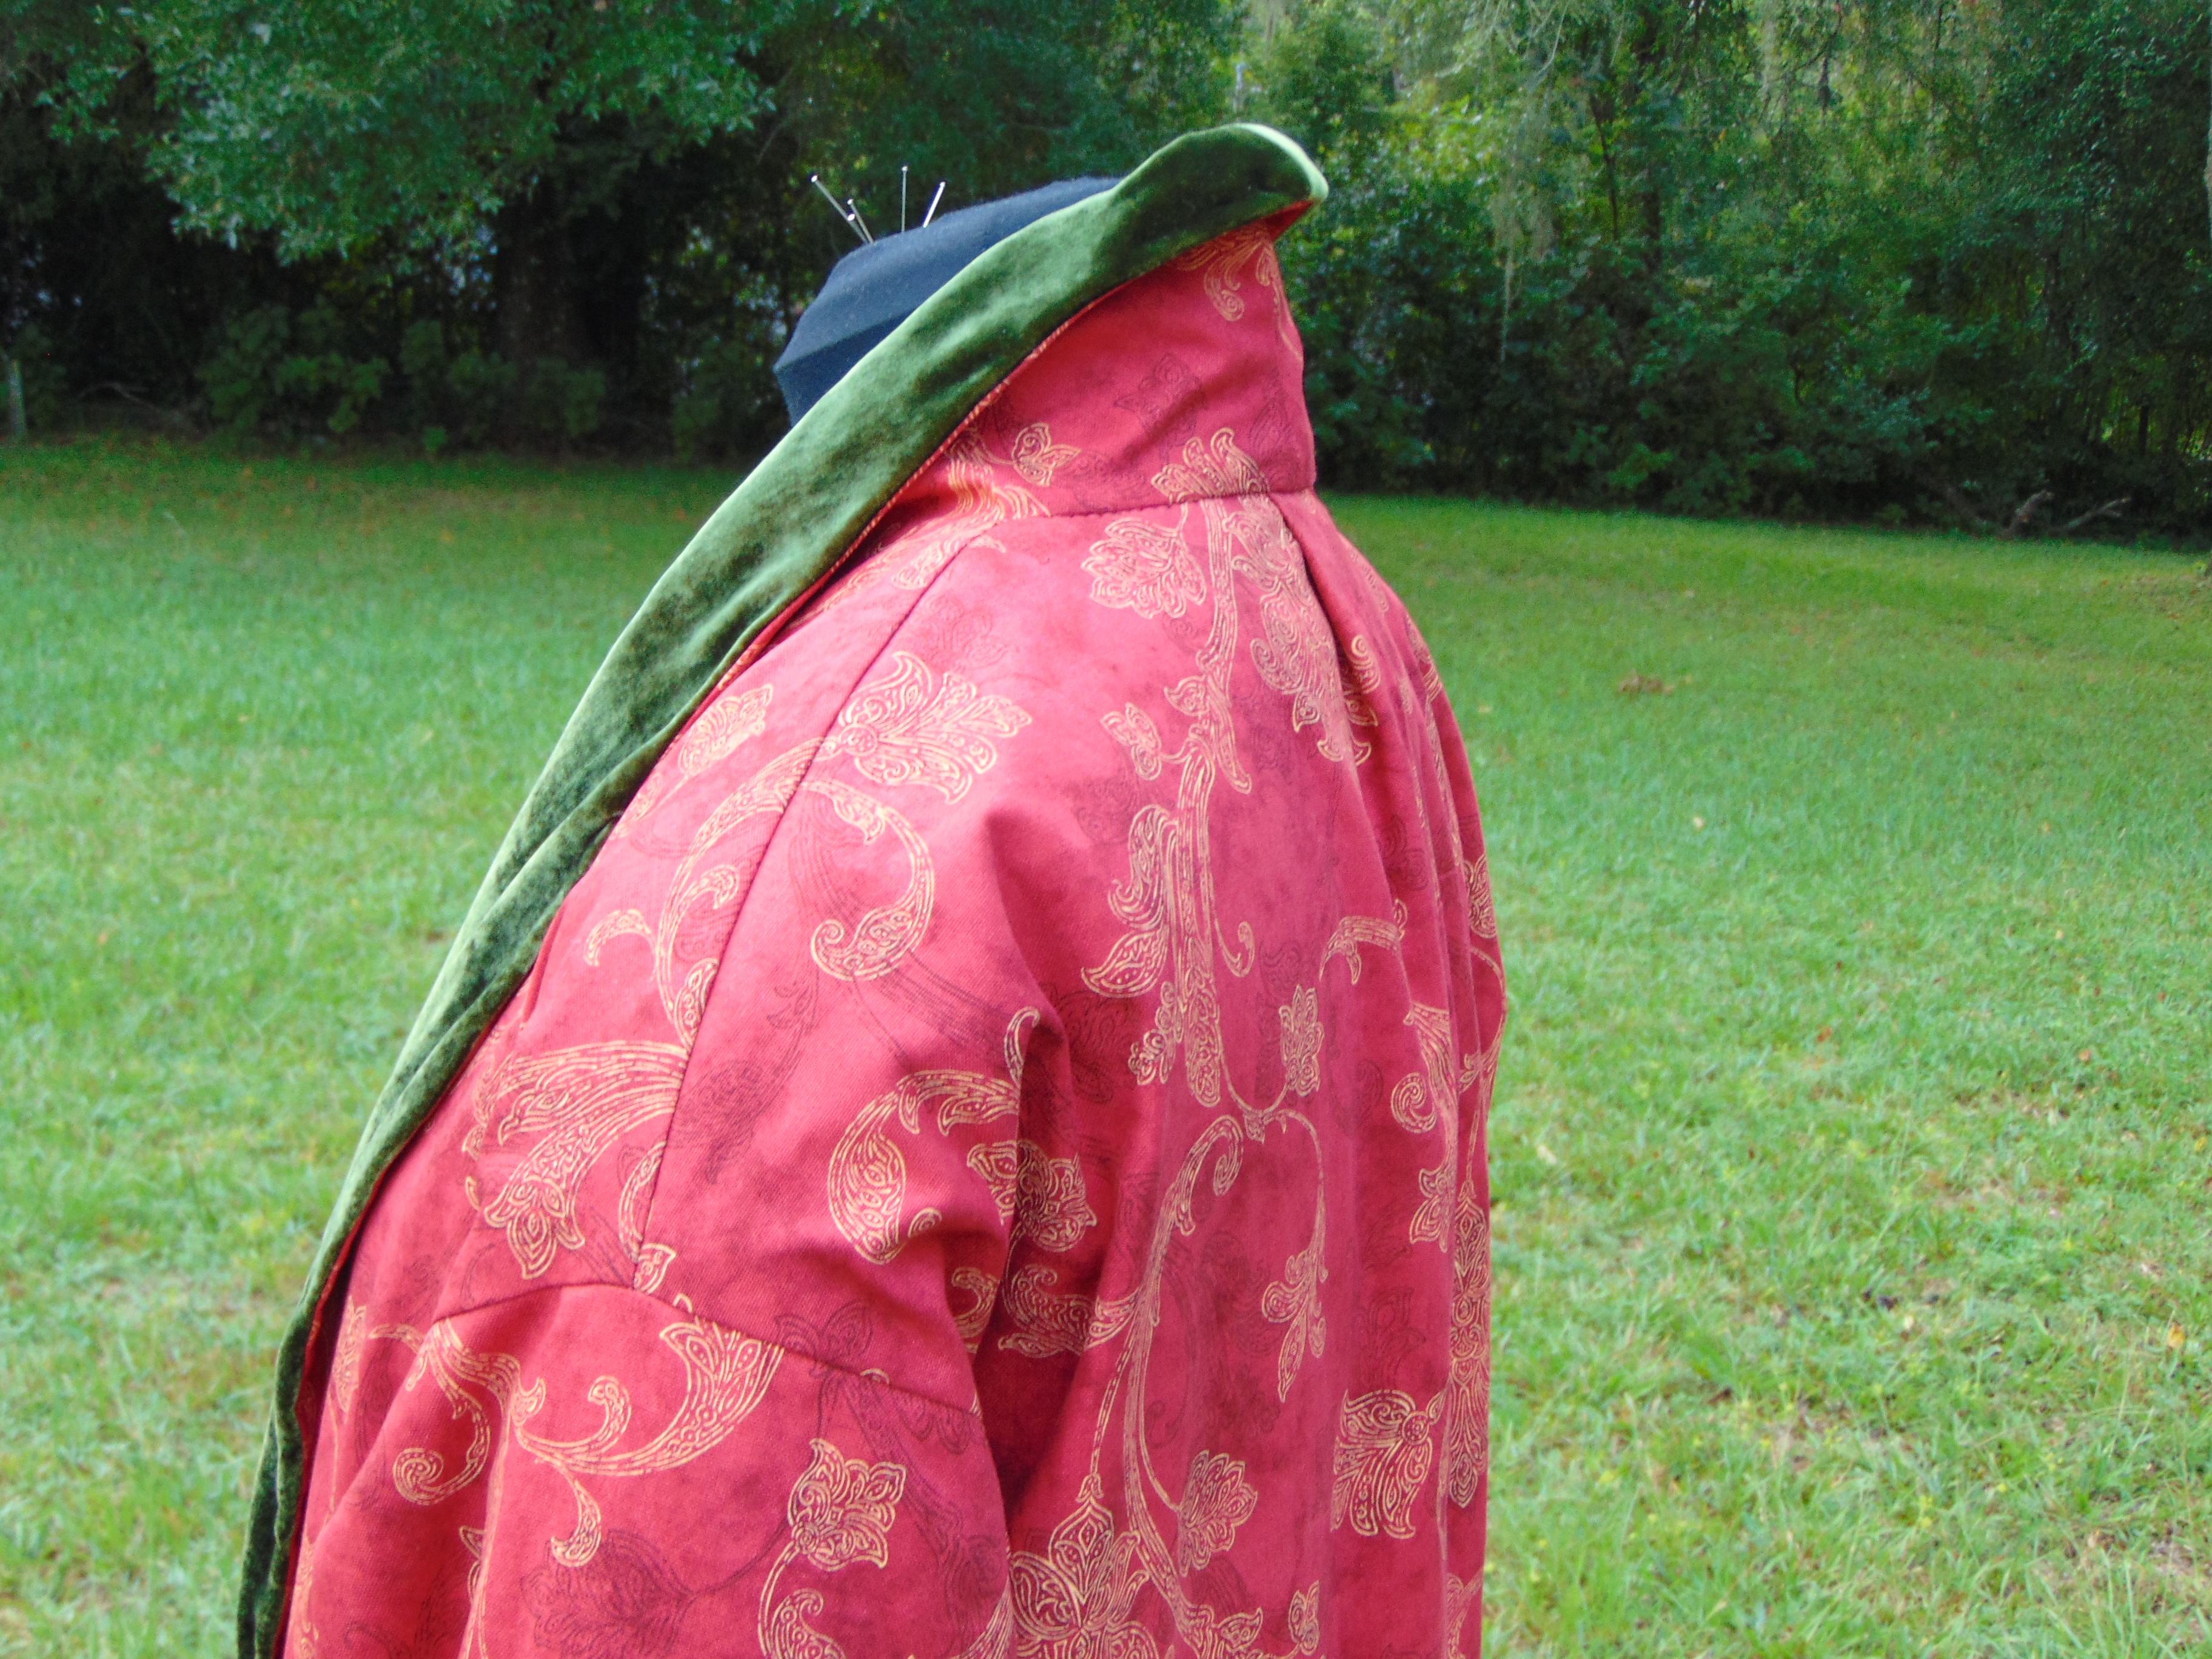
 (above) showing outside of shawl collar, with box pleat)

(above, showing lining at shawl collar. See the sudden turn in direction of the green)
- The back piece is too wide at the top to fit the shawl collar. There is almost 1.5" of excess width in the back piece. I bypassed this easily by simply putting in a box pleat. This is historically accurate and kept me from having to narrow by back piece, which I didn't want to do. With a lighter material, you could also gather in the excess there if you wanted, though I think a pleat is stronger.
 The only real change I made to the pattern was with the shawl collar. In this pattern, the back of the collar is a separate piece attached to the fronts. I didn't like this bc it creates a seam in an awkward place. You would end up with the shoulder seam being just 1/2" offset from the collar seam, which is wonky to me and creates excess bulk in an inconvenient area. So I folded in the seam allowance and positioned the collar piece where it would go upon being stitched, and then added seam allowance for a center back seam instead. (most shawl collars are like this, in one piece with the fronts, so my way is actually the common)
 - The sleeve pieces have markings on them for front and back, as well as directing for easing the top of the sleeve to fit the area at the shoulder. This is pretty standard, except, the piece doesn't fit that way. The markings on the front and back pieces don't match up to the sleeves in a way that would have you easing the sleeve on (opposite actually, you would end up gathering or easing in the body! Don't do that! LOL) Instead, just set the sleeves on flat, snipping into the body seam allowance so you can ease it around the top curve. No gathering needed. Banyans were often cut flat, like kimonos, so this is perfectly accurate. And easier than trying to figure out where the pattern maker meant for the easing to actually be. [Now, I will admit, this failure for the sleeve piece markings to match up could be a result of the fact that the sleeve comes in only one size, while the body has different sizes. Perhaps those sleeves markings do match up to the body size medium or small. I'll have to double check.]

Another note on the sleeves: The markings for front and back and unnecessary. The sleeve doesn't have a front and back, it's a mirror image piece. There are markings on the bottom for sleeve lengths, though.


The Cap
I love this little pattern! It goes together perfectly, no issues with the pattern pieces not lining up or whatever. The cap does have only a 1/4" seam allowance, so you have to note that. It is also just one size, so measure before hand and remember to allowance some wiggle room for the bulk that will be added by the band fold and lining.

Done as-is, with no alterations, it came out to comfortably fit a 22.5" head, probably with good wiggle room up to 23". If you need the cap to be smaller, I would recommend taking it in equally at the front and back seams of the body, but then just at the back seam of the band (so you don't mess up the front positioning of the little V on the band.


FINISHED


No comments:
Post a Comment