
Fabric: 100% linen, heavy weight. 100% cotton lining, paisley print. Interlining is cotton flannel.
**Care notes: Machine washable. Hang dry or tumble dry with low heat.
Measurements:
Essentially one-size-fits all, though a very small wearer might find the neckline too large. The capelet is cut as a true circle, so it will lay over any shoulder width.
Available on Etsy HERE
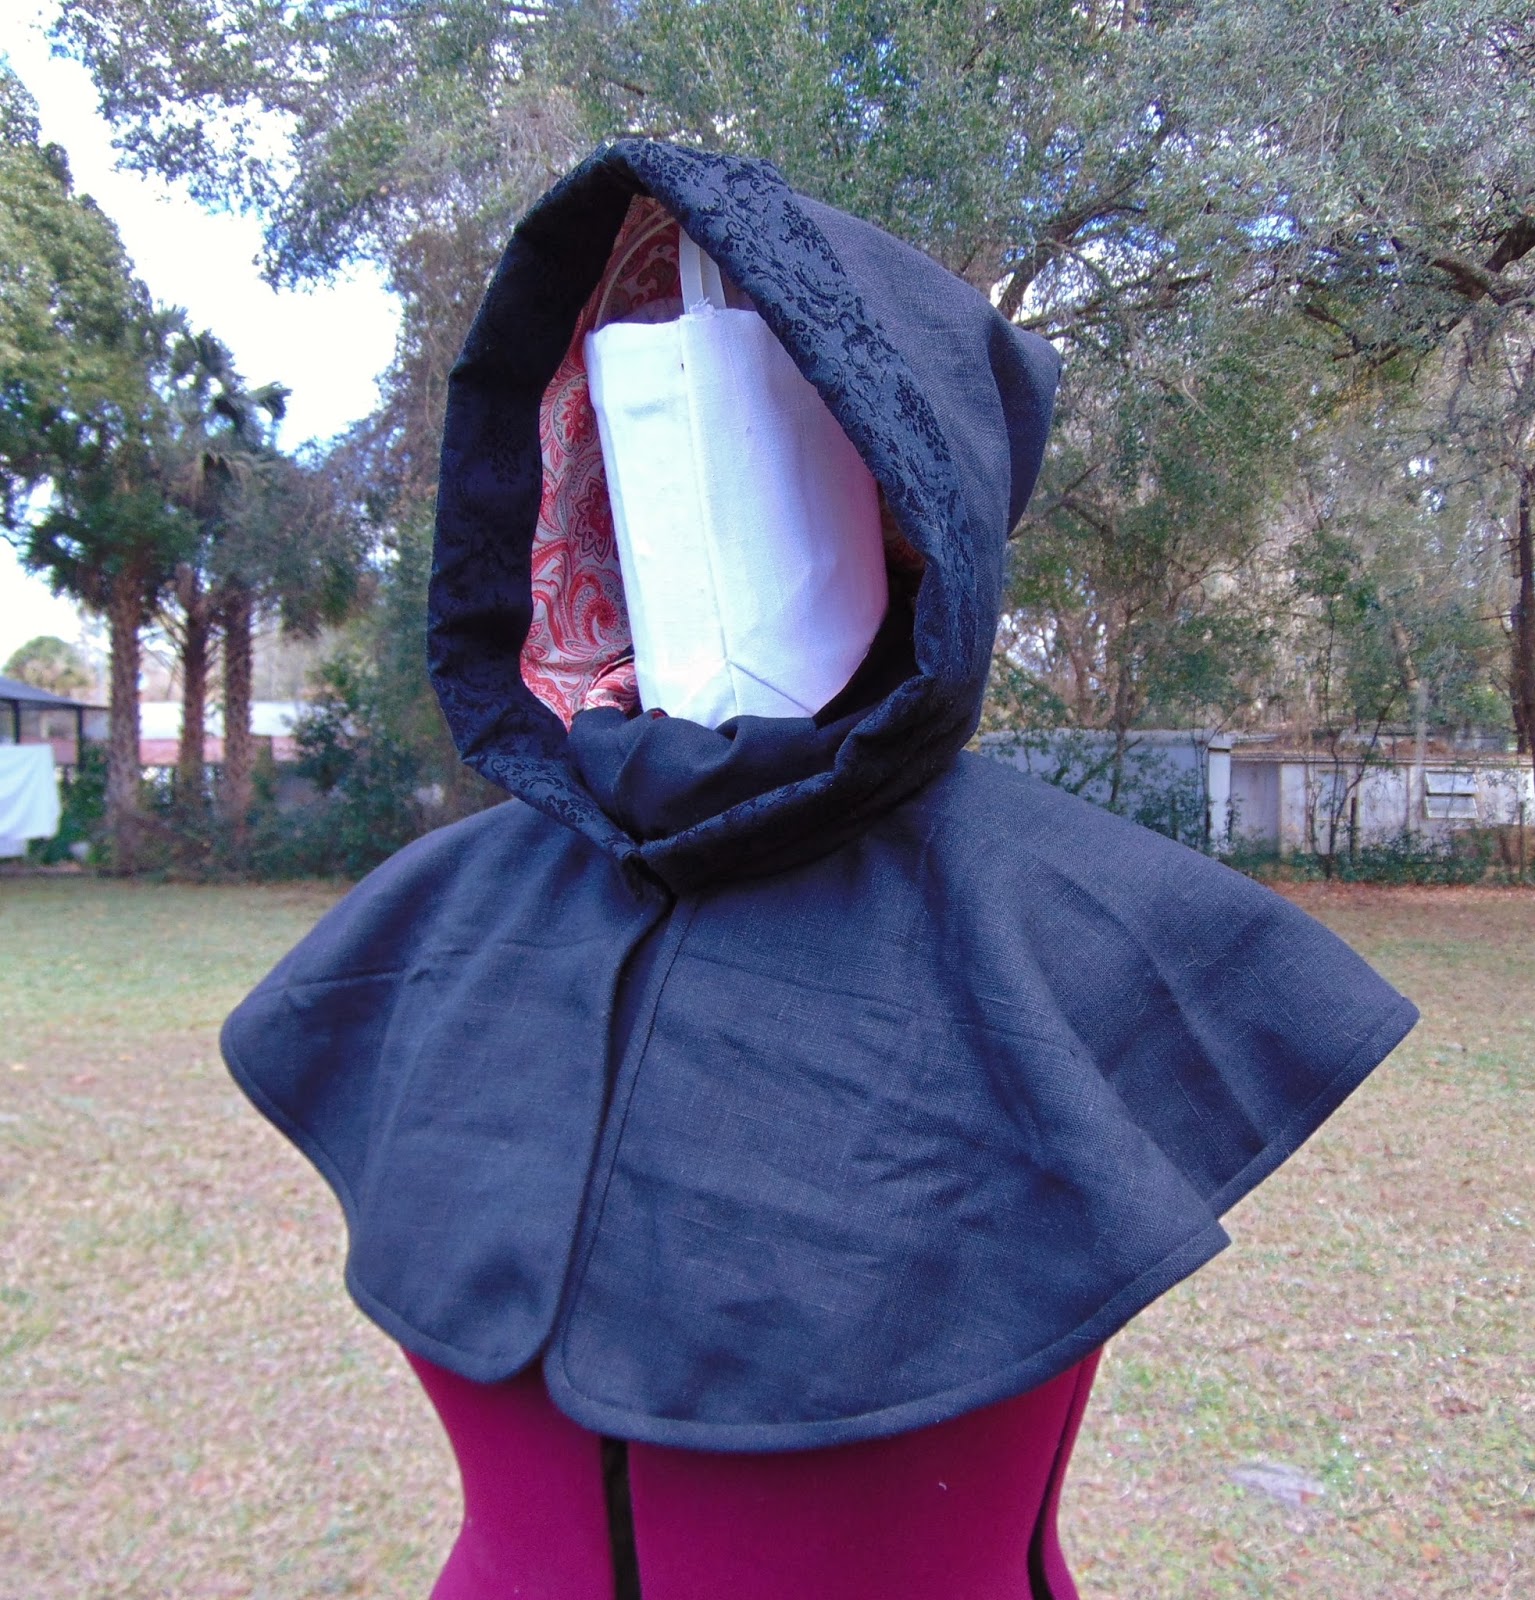
Construction Features:The capelet hem is hand bound in matching linen, no visible stitches.
The hood and capelet linings are hand whip-stitched at the neckline.
Hidden snaps secure down the point of the hood and the front folds on the hood opening.
The point of the hood is decorated with two black faux-fur balls.

The pointed hood is held down with a small snap that can be undone when the hood is lowered or i the wearer wants the pointed look =)
~Altering the Pattern~
As often happens in sewing, sometimes you alter a pattern so extensively that it has almost no resemblance to the original piece. That's what I did here. The only elements of the original pattern still clearly visible in this new hood are
- the folded back edge of the hood with the split at the top,
- and the pointed hood that is held down flat with a hook/eye (or in my case a small snap)
The original pattern had a fitted caplet, with large darts that caused it to curve over the shoulder and essentially trap the upper arms. This not only restricts movement, but also restricts sizes and what you can wear under the hood. With the original, wearing a puffier coat would have made the capelet no longer fit. I chose to go with a standard circle capelet, cut on the fold and sliced open at the center front. I also curved the bottom edges of the center front and added bias binding.

The most important alteration is too the hood. As I described in the post about the original pattern, the first rendition had a hood that was essentially decorative, and sat so far back on the top of the head that it would have had to be pinned to the hair in some way just to stay put (see below)


But, I wanted a functional hood that would protect the face and hair from the elements, so I extended the front of the hood from the bottom neck edge, angling out to a distance that would make the entire hood much deeper. The orange lines (below) indicate my new cutting lines over the original piece. The colored in area represents, loosely, the are to be folded back. The notch shows where the stitching ends to allow that split in the center front.

Note: The hood piece is indicated to be cut on the fold, but my new version has a center back seam. This is was because of fabric limitations only. In the future when I have enough of my chosen fabric, I will cut it on the fold.


(above) With the snap fastened.
(below) Snap unfastened


(below) Showing the hood down with the center point snap undone so the point hangs down.


(above and below) In the original pattern, the folded edge of the hood shows whatever fabric is the lining. Very simple. But, I wanted a contrasting black edge on the hood AND a wild lining, so I just faced the lining back a few inches with the contrasting black fabric. BTW, the hood edge fabric is cotton twill with a black velvet raised print.

Finally, I had enough scarp fabric left to make a small matching scarf. There are small pockets at ends end in the lining =)


No comments:
Post a Comment