
Fabrics: 100% cotton sheer weight (voile), woven stripes in neutral tones of cream, brown, and pink. Bodice lining in cream broadcloth.
Available on Etsy HERE
Measurements: The bodice style allows a small range of fit.Chest: 39-41"
Underbust: 34.5 - 35.5"
Waist: <40" (not really important)
Hip: <45" (also not that important. Skirts are full)
Length (from underbust): 46" at front, 47.5" at back
Back Width (between armhole seams): 10"*
Back Width (real arm socket position): 14.5"*
*the sleeves are cut with fullness at the back, cutting in further than they do on modern garments. This gave the illusion of a narrow upper back.
Bicep: <14"
Hem Circumference: 120"

Summary:
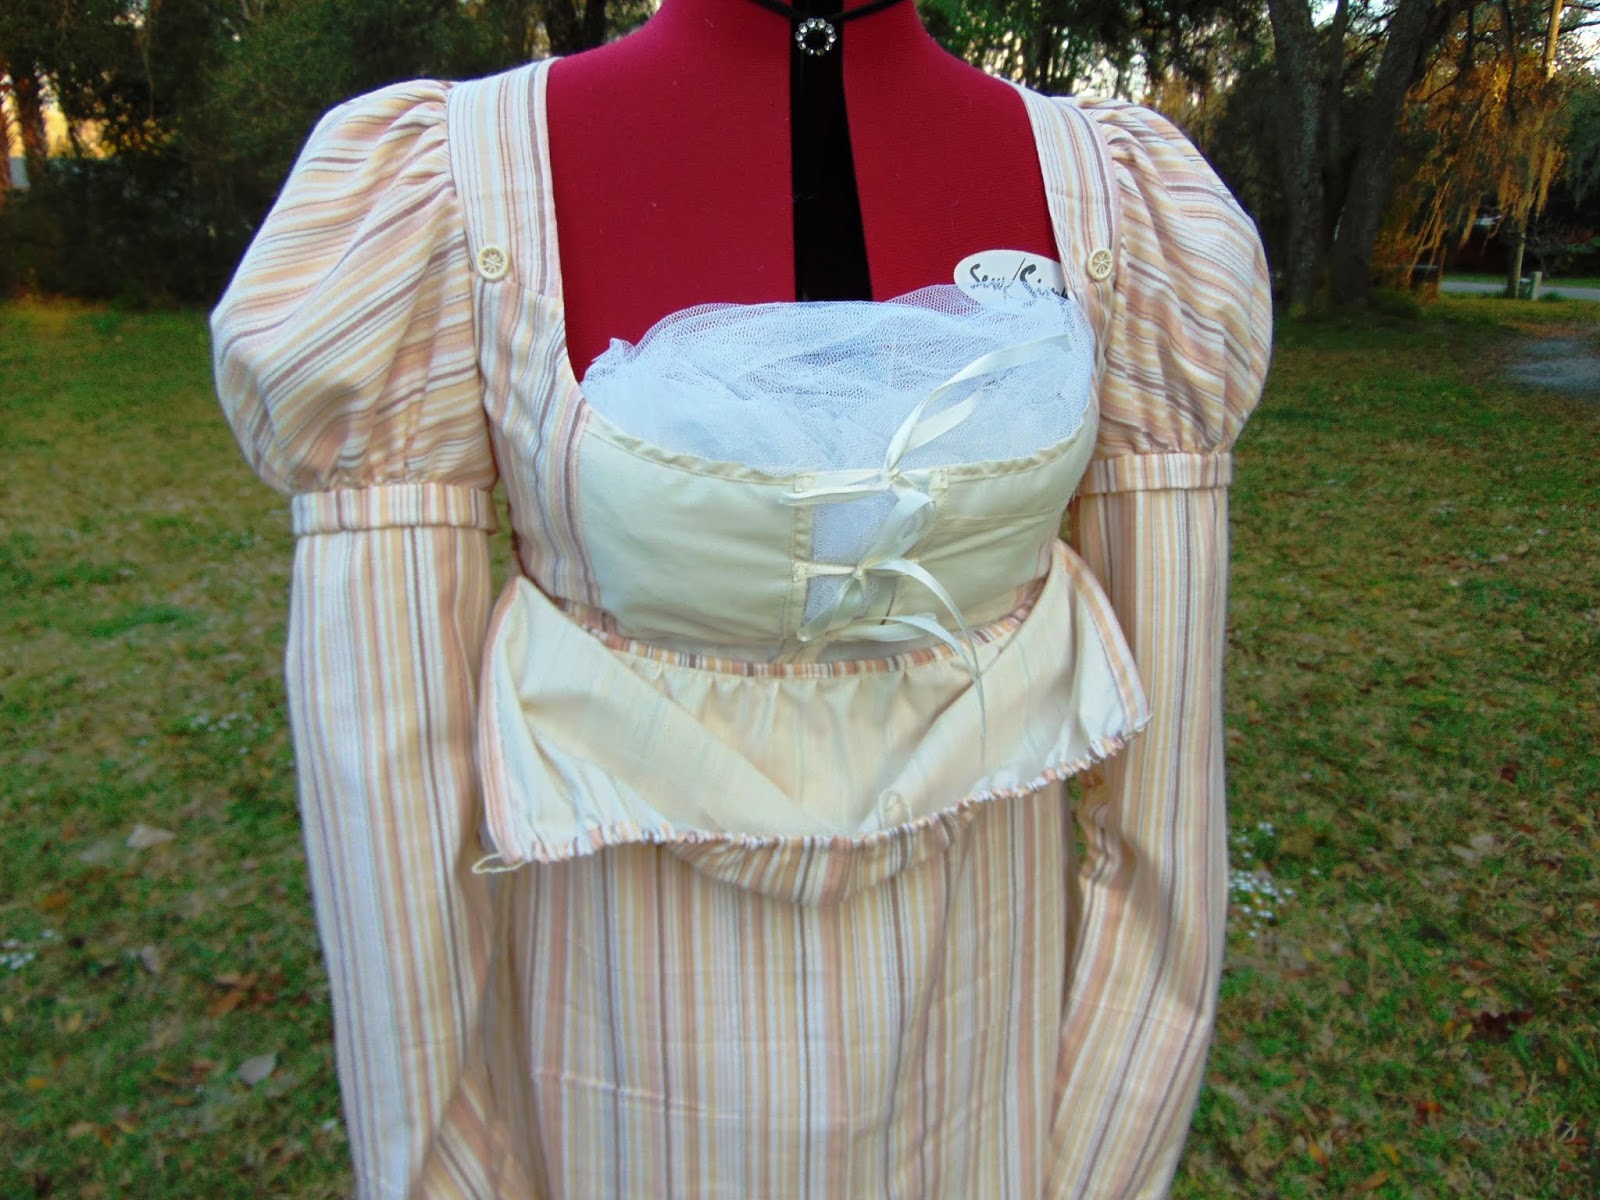
A bib-front style gown done in feather-weight cotton voile and lined in light taupe broadcloth (bodice and sleeves. Skirts are unlined). The dress is shown over a single under-bust petticoat. The sleeves are convertible long/short, with the bottom section finished as a separate piece and tack stitched to the inside of the upper sleeve's cuff. These stitches can be picked out quickly and the bottom sleeves removed. The front is held in place with ties around the under-bust, secured at back, and two self-made Dorset buttons on the fronts to hold up the center panel. The center panel has a drawstring channel at top for fit adjustment.
All visible stitching has been done by hand.
For The Pattern - Fitting
The sizing is very true to the pattern, but the distribution requires some notes. The difference between the bust and under-bust is 5 inches, meaning this dress is cut for a very large cup bust (DD). Now, period accurate underpinnings do have the effect of pushing the chest up and creating a larger bust, but it's still quite big. If your bust to under-bust is much less than 5", you will need to adjust fit. This is mentioned in the fit section of the pattern instructions.

(above) You can see how much padding I had to add to get my form to the 40" bust / 35" underbust stipulated on the pattern.
Now, the part that isn't mentioned is that the vest majority of the chest measurements is weighted toward the front and that large cup bust. Meaning, the backs run narrow. Some people can have a large difference between bust and under-bust without actually having a very full cup (some people have broad backs, large rib cages, etc.). In this case, you might want to widen your back piece and use a smaller front panel piece to compensate. The best option is always to make a mockup, but sometimes fabric availability is an issue and you just can't afford to "waste fabric" on mockups. I've been there.
The Side Openings
The overlap built in to the pattern is only about 1", which is okay if your dress and undergarments are of a similar hue. But some gaping was still bound to occur, so I did make some adjustments to get a deeper overlap. If you're going to make a dark dress over white petticoats, you definitely want to extend the back panel so you will get a deeper overlap.

The Front Bib
I did the regular gathered front, as opposed to the full gathered front option. The buttons are cotton floss worked over a plastic ring, and the securing loops are worked from that same floss.

The drawstring channel at the top is hand stitching in place and has two tiny eyelets at the center for the strings to come out and be tied inside The front of the bodice is tied with three ribbons

Sleeves
Now, here's the first thing to note if you're new to historically accurate regency sleeves. They can feel counter-intuitive. They can feel like you're putting them in backwards. This is because most of the time the seam on one piece sleeves was set at the back, and this isn't the case in most other eras, especially if you've gotten used the front seam on an 18th century sleeve. Don't be discouraged if it looks funky on the dress form. The sleeves will fit correctly and shape correctly once there is a person in there! lol
The sleeves on this dress are two part, so the lower sleeve can be removed for wear as a short-sleeve ball gown! It does require a bit of sewing skill, though, as the bottom sleeves are tack stitched in and would have to loosely stitching in again once removed.
FINISHED


No comments:
Post a Comment